In this guide, we will learn how to install and configure Telescope in Laravel step by step. Laravel Telescope is a powerful debugging assistant for Laravel applications. It allows developers to monitor requests, exceptions, queries, scheduled tasks, cache operations, and more. By the end of this article, you will have a clear understanding of Telescope installation, setup, and integration with Laravel.
Why Use Laravel Telescope?
Laravel Telescope is an essential tool for developers working with Laravel setup and integration. It helps track application performance, debug issues faster, and improve overall productivity. Imagine building a real-world Laravel project like an e-commerce store. Telescope can help you monitor database queries, detect slow requests, or debug failed jobs instantly.
Whether you are building an enterprise app, a SaaS product, or a ChatGPT-based integration in Laravel, Telescope gives deep insights into what is happening behind the scenes of your application.
Install Laravel Telescope
You can install Laravel Telescope either as a full dependency or as a development dependency. If you want it only for local development and testing, use the dev option. To install Laravel telescope open your terminal and enter below command:
composer require laravel/telescope

// or

composer require laravel/telescope --dev
Publish Telescope Assets and Migrations
After installation, you need to publish Telescope’s assets and migration files so Laravel can use them properly. For that, you need to run install command on terminal:
php artisan telescope:installIt will install all required configuration and dependencies. Next, run the database migrations to create the required tables for Telescope.
php artisan migrateIt will sets up the database tables that store Telescope data like requests, queries, exceptions, and logs. All the data related to telescope will be stored into these tables.
Configure Laravel Telescope
Telescope works out of the box, but you can configure it for better results. Like changing endpoint for accessing telescope, enable/disable telescope, setup authorization for particular email, etc.
Let’s configure it for only allow admin for accessing telescope.
Gate::define('viewTelescope', function ($user) {
    return in_array($user->email, [
        'admin@example.com',
    ]);
});
With telescope, You can also choose what to monitor, such as requests, cache, commands, or mail. This gives you more control and helps avoid unnecessary overhead in production.
Accessing Telescope
Once installed and configured, you can access Telescope in your Laravel project by visiting:
http://your-app-domain/telescopeFor testing locally or in development, you can check with localhost with “/telescope” end-point. Here you will see detailed insights like requests, jobs, queries, and exceptions in real time.
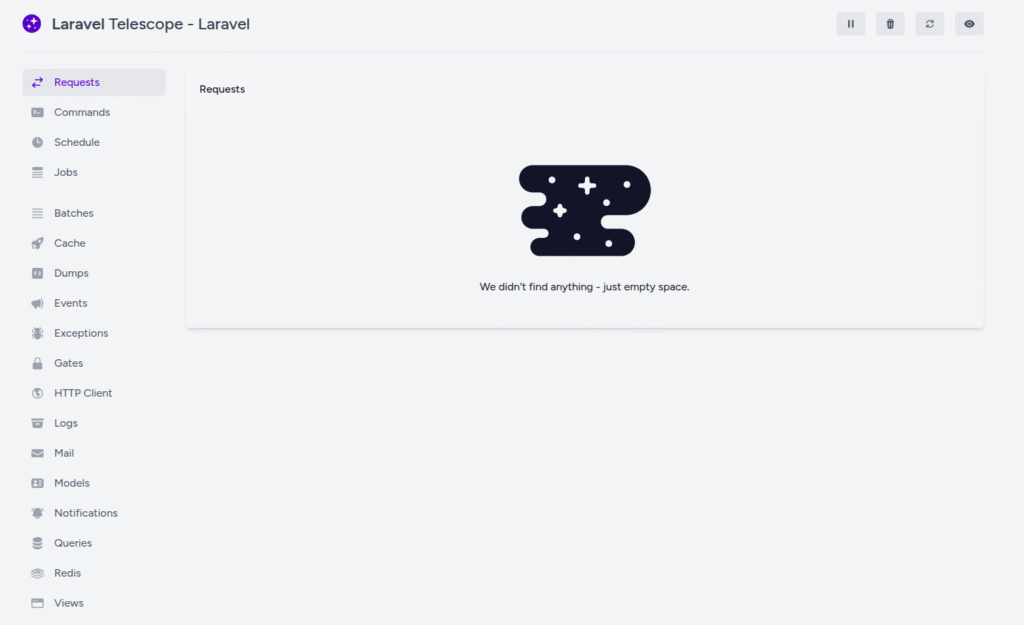
As you can see in above image, it shows data about almost every angle of your application like request, command, schedule, jobs, etc. There is also few options available pause, clear, refresh and view at top navigation.
Conclusion
Now you know how to install and configure Telescope in Laravel. It is a must-have tool for every Laravel developer, whether you are creating a basic CRUD app or working on a complex application. Telescope makes debugging and monitoring much easier, improves workflow, and provides transparency into your application. With proper setup and integration, you can build faster, fix errors quickly.