
Create an Image Upload REST API in Node JS and Express for easy handling of file uploading in modern applications. Whether you’re building a social media platform, an e-commerce site, or even a content management system, being able to manage image uploads through a REST API is required. Node JS and Express together provide flexible and powerful management for this process while maintaining a lightweight and speedy application.
With the right setup, you can accept image uploads from users, validate files, and store them locally or in the cloud. This tutorial will guide you through building a simple yet functional image upload REST API using Node JS and Express.
Setting Up Your Node JS and Express Application
Assume you already have a Node JS application created with Express JS. If not, you can initialize it using the following commands:
mkdir image-upload-api
cd image-upload-api
npm init -y
npm install express multer
Here, the REST API routes use Express, and Multer handles the image upload functionality.
Image Upload using Node.js and Express
To manage API endpoints and server, Let’s create file named server.js to setup express server and modify as below:
const express = require('express')
const multer = require('multer')
const path = require('path')
const app = express()

const storage = multer.diskStorage({
  destination: 'uploads/',
  filename: (req, file, cb) => {
    cb(null, Date.now() + path.extname(file.originalname))
  }
})

const upload = multer({ storage: storage })

app.post('/upload', upload.single('image'), (req, res) => {
  res.json({
    message: 'Image uploaded successfully',
    file: req.file
  })
})

app.listen(3000, () => {
  console.log('Server started on port 3000')
})
In above example, we are initializing storage using multer. We have also created upload endpoint using this multer object to process image upload from incoming request. Once upload is successful, it will return response to user.
Next thing, you need to do is to start development server. Open your terminal and enter below command:
node server.jsOnce server started, open your browser and visit below URL to check server is started:
http://localhost:3000To test this endpoint, we will use Postman and below is screenshot for image upload using express.
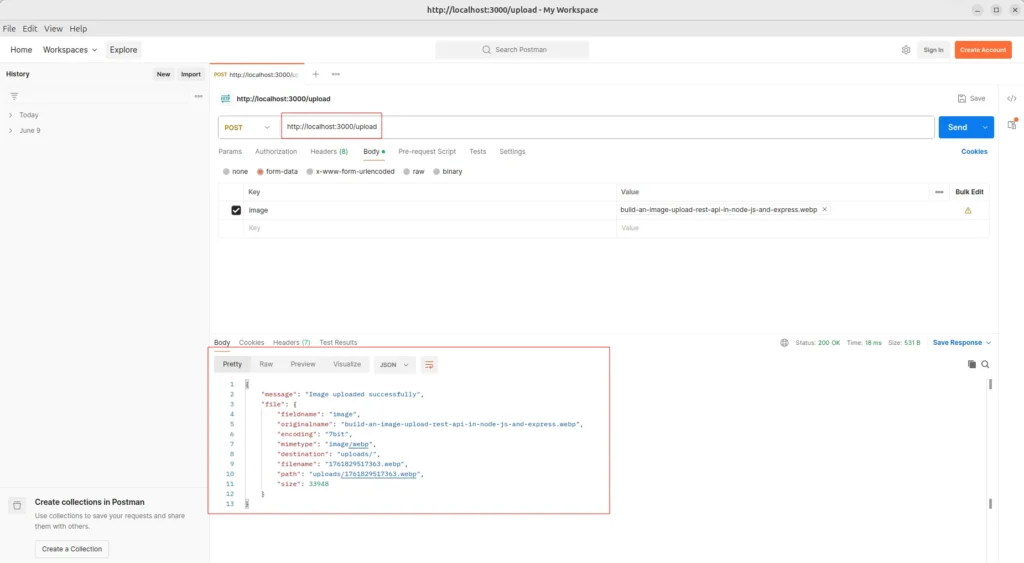
Here, we have passed an image and it will store image to server and return file information as response. You can customize this response as per your requirements.
Conclusion
In this tutorial, you’ have learnt to build an Image Upload REST API using Node JS and Express. It’s both easy and efficient with the Multer middleware. Developers can handle file uploads securely, from profile images to product galleries. You can extend this API further with file validations, size limits, and cloud integrations to make it production-ready. Once you grasp this process, it is relatively easy to extend it to handle multiple file uploads, authentication, and even integrate it with larger systems.
Check out Implement CORS in Node.js and Express to make your image upload REST API accessible across multiple domains. The guide explains how to configure CORS properly for smooth communication between your backend and frontend applications.