
Have you ever opened a site such as Pinterest on your mobile and been asked to add it to your home screen, whereupon it acts exactly like a native app? That’s the sorcery of a Progressive Web App. This handbook will demonstrate how to create Progressive Web Apps (PWA) with Laravel, making your typical web project into an offline-capable, speedy, trustworthy, and interactive app that is installable on a user’s device.
We will fill the gap between a web page and a mobile app by combining the strength of Laravel’s backend with the features of modern frontend. Together, they make the user experience effortless, which can help enhance user retention as well as engagement.
What is PWA?
A Progressive Web App, or PWA, is a web application that harnesses the power of modern web capabilities to provide an app-like experience to it’s user. They are meant to be fast, reliable even on unpredictable network connections, and engaging.
In essence, a PWA is a website that you can “install” on your desktop or phone, use offline, and interact with as a native app but in background it’s a web application or simple website.
Why use PWA in Laravel?
- Your web application deliver app-like speed without needed additonal code for dedicated iOS and Android.
- You increase conversions with offline-capable pages, instant caching, and install triggers.
- You keep your stack minimal by leveraging Laravel routing, views, and security.
- It will help in SEO since search engines can crawl your website while users get an app-like experience.
- It helps to deliver seamless animations and responsive to user input with no lag in scrolling.
In this post, you will see how to build PWA in Laravel application. You will simple intregration with scope of future improvements regarding caching, deployment in app store and more. Before moving foraward, make sure you have Laravel application up and running.
Installing Laravel PWA Package
First step is to install and setup Laravel PWA package. There are multiple package for this requirement but in this tutorial, you will use eramitgupta/laravel-pwa. This package has all the required features to convert any regular Laravel application into Progressive Web App (PWA).
To install this package, Open command prompt and enter below composer command:
composer require eramitgupta/laravel-pwaIt will take some time to download it’s core files and required dependencies. Open your config/app.php file and check provider is auto register or not. Register it if it doesn’t register automatically.
'providers' => [
    ErAmITGupta\LaravelPwa\PWAServiceProvider::class,
],
Once you have registered it’s service provider, you can publish configuration file using below command.
php artisan vendor:publish –provider=”ErAmITGupta\LaravelPwa\PWAServiceProvider”
Next, you need to install this package’s configuration file using below command:
php artisan erag:publish-laravel-pwaThe above command will create config/pwa.php file which contains all the configuration for PWA. You can customize app name, color and more.
Configuring the PWA in Laravel 12
Once the configuration file is published, open config/pwa.php and adjust the settings based on your application. Let’s see how configuration file looks like after making some changes like color, display, app name, URL and icons.
<?php

return [
    'install-button' => true,

    'manifest' => [
        'name' => 'Laravel PWA',
        'short_name' => 'PWA',
        'background_color' => '#6777ef',
        'display' => 'fullscreen',
        'description' => 'A Progressive Web Application setup for Laravel projects.',
        'theme_color' => '#6777ef',
        'icons' => [
            [
                'src' => 'logo.png',
                'sizes' => '512x512',
                'type' => 'image/png',
            ],
        ],
    ],

    /*
    |--------------------------------------------------------------------------
    | Debug Configuration
    |--------------------------------------------------------------------------
    | Toggles the application's debug mode based on the environment variable
    */

    'debug' => env('APP_DEBUG', false),

];
This configuration is used when you install PWA on device. Once you make these changes, you need to update generate manifest using below command.
php artisan erag:update-manifestAdding meta tags and service worker
The Laravel PWA package provides blade directives to include head tags and service worker code easily. You have to add this @PwaHead inside your main blade file. Most of the cases it’s app.blade.php file but it depends on your project.
<!DOCTYPE html>
<html lang="en">
    <head>
        @PwaHead
        <title>Codewolfy</title>
    </head>
    <body>
        <h1> Welcome to codewolfy</h1>
        @RegisterServiceWorkerScript
    </body>
<html>
These directives will automatically adds link to the manifest file and register service provider scripts to Laravel application.
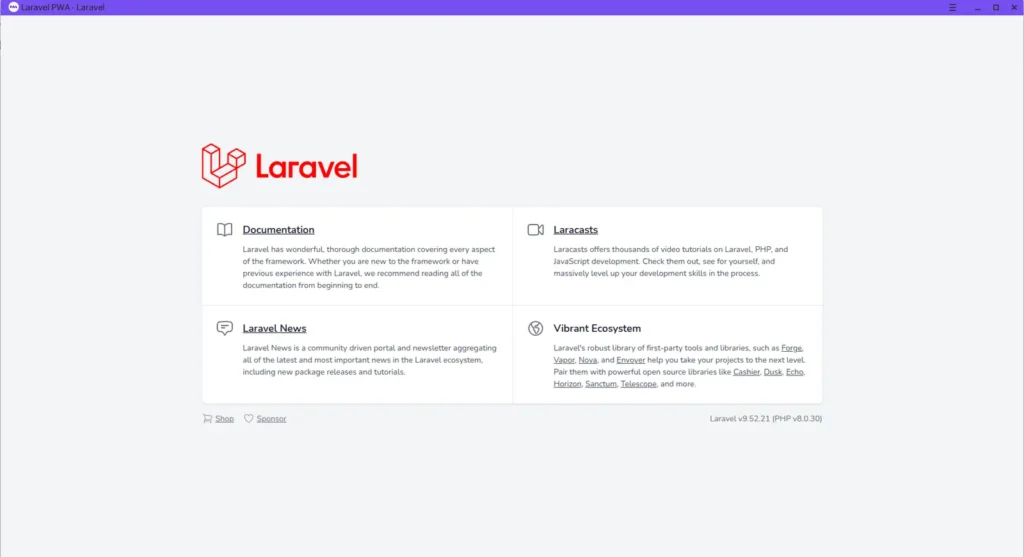
PWA install button
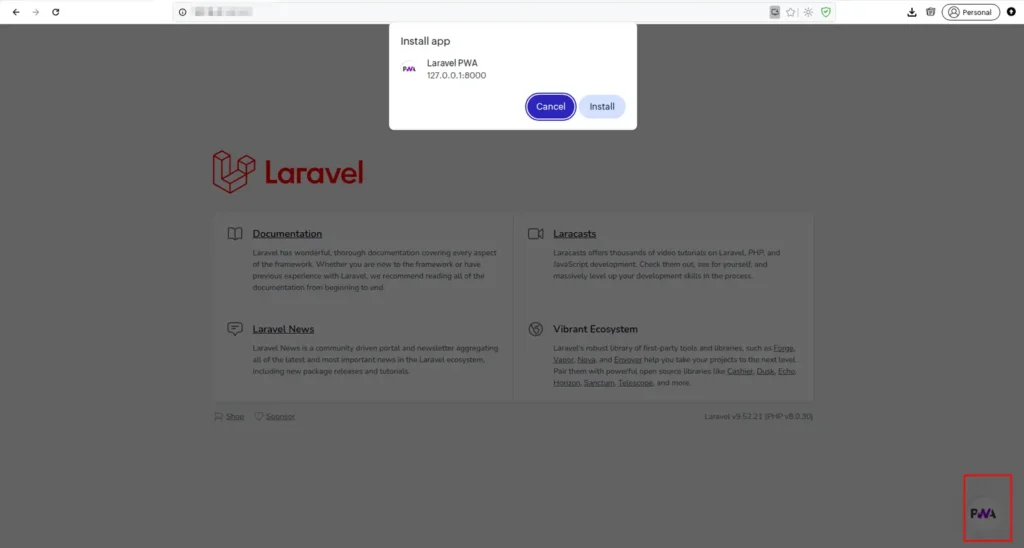
It will ask user to install PWA app into their system once they click on highlighted button. Once install they search for Laravel PWA and open their own generated Progressive web app like showing into below image.
Conclusion
When you build Progressive Web Apps (PWA) using Laravel and use the erag/laravel-pwa package, you get an easy, install commands, manifests, and service worker support. The package simplifies configuration and provides blade directives.
If you enjoyed learning how to Build Progressive Web Apps (PWA) using Laravel, you should also check out our post on Integrate Spotify in Laravel. It walks you through connecting Spotify’s powerful music API with your Laravel app to create dynamic and personalized music experiences.