
Large, unoptimized images are among the biggest causes of slow websites. In today’s fast-paced digital world, lost visitors and poor user experiences often come out of a slow site. The solution is to compress images with PHP and TinyPNG-a strong combination allowing your application to automate image optimization.
This tutorial will take you through the entire process, from obtaining your API key to creating a PHP script that can compress images on the fly. You will be able to compress individual files as they are uploaded, and you will even know how to process whole folders full of images in bulk. Let’s get started and make site faster.
Get Your Free TinyPNG API Key
Before you can start compressing images, you need to get TinyPNG API key. The TinyPNG provides free API upto 500 images per month.You can get API key for TinyPNG by following below steps.
- Navigate to the TinyPNG Developer API page.
- Enter your name and email address in the form and click Get your API key.
- Check your email. TinyPNG will send you a confirmation link. Click it to view your API key on their dashboard.
Copy this key and keep it stored someplace safe. You will need it in your PHP script.
Install the TinyPNG PHP Package
The TinyPNG provides the PHP library to interact with it’s APIs which is easy to use and intergrate. In further examples, you will use this package. Open terminal and install it using below command:
composer require tinify/tinifyThis command automatically downloads the TinyPNG library and sets it up for your project. Now, you have all the necessary tools to start PHP image compression.
Image Compression in PHP Using TinyPNG
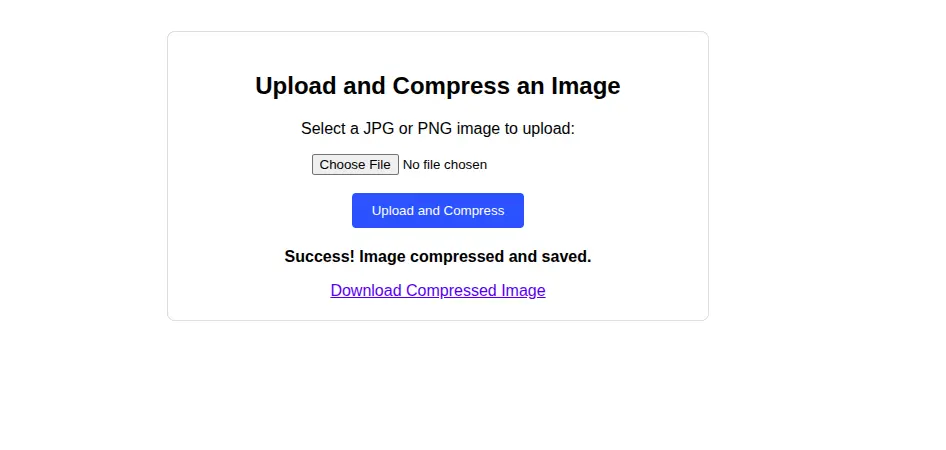
A common scenario is compressing an image right after a user uploads it, such as a profile picture or a blog post banner image. This ensures you always store an optimized version on your server. Let’s take an simple PHP example, that does exactly that. It displays an upload form, and when a user submits an image, it compresses the file using the TinyPNG API and offers a link to download the optimized version.
Create a file named compressor.php and add the following code:
<?php
require_once("vendor/autoload.php");

$upload_message = "";
$download_link = "";

if ($_SERVER["REQUEST_METHOD"] == "POST" && isset($_FILES["image_file"])) {
    try {

        \Tinify\setKey("YOUR_API_KEY");

        $source_path = $_FILES["image_file"]["tmp_name"];
        $file_name = $_FILES["image_file"]["name"];
        $destination_path = "compressed-" . $file_name;

        $source = \Tinify\fromFile($source_path);
        $source->toFile($destination_path);

        $upload_message = "Success! Image compressed and saved.";
        $download_link = $destination_path;

    } catch(\Tinify\Exception $e) {
        $upload_message = "Compression failed: " . $e->getMessage();
    }
}
?>

<!DOCTYPE html>
<html lang="en">
<head>
    <meta charset="UTF-8">
    <title>PHP Image Compression</title>
    <style>
        body { font-family: sans-serif; text-align: center; margin-top: 50px; }
        .container { max-width: 500px; margin: auto; padding: 20px; border: 1px solid #ddd; border-radius: 8px; }
        input[type="submit"] { padding: 10px 20px; background-color: #007BFF; color: white; border: none; border-radius: 4px; cursor: pointer; }
        .message { margin-top: 20px; font-weight: bold; }
        .download-link { display: block; margin-top: 10px; }
    </style>
</head>
<body>

    <div class="container">
        <h2>Upload and Compress an Image</h2>
        <form action="compressor.php" method="post" enctype="multipart/form-data">
            <p>Select a JPG or PNG image to upload:</p>
            <input type="file" name="image_file" accept=".jpg, .jpeg, .png" required>
            <br><br>
            <input type="submit" value="Upload and Compress">
        </form>

        <?php if ($upload_message): ?>
            <p class="message"><?php echo $upload_message; ?></p>
        <?php endif; ?>

        <?php if ($download_link): ?>
            <a href="<?php echo $download_link; ?>" download class="download-link">Download Compressed Image</a>
        <?php endif; ?>
    </div>

</body>
</html>
Here, you just need to replace your API key and it will start image compression using PHP. It will display output similar to below image.
Compress Images in Bulk with PHP
For cases when you are implementing this into existing application, you need compress older images. Let’s take example for that case. Create a file named bulk-compress.php and add this code:
<?php
require_once("vendor/autoload.php");

try {
    \Tinify\setKey("YOUR_API_KEY");

    $source_dir = "source_images";
    $destination_dir = "compressed_images";

    if (!file_exists($destination_dir)) {
        mkdir($destination_dir, 0777, true);
    }

    $files = scandir($source_dir);

    foreach ($files as $file) {
        $source_path = $source_dir . '/' . $file;
        $destination_path = $destination_dir . '/' . $file;
        $extension = strtolower(pathinfo($source_path, PATHINFO_EXTENSION));

        if (in_array($extension, ['jpg', 'jpeg', 'png']) && is_file($source_path)) {
            echo "Processing " . $file . "... ";
            $source = \Tinify\fromFile($source_path);
            $source->toFile($destination_path);
            echo "Done!<br>";
        }
    }

    echo "<h3>Bulk compression complete!</h3>";

} catch(\Tinify\Exception $e) {
    echo "An error occurred: " . $e->getMessage();
}
?>
This script will compress all the images from specified directory using PHP and TinyPNG.
Conclusion
You now have seen all types of required examples, automated PHP image optimization. With integration through the TinyPNG API, you are in a position to ensure that every image on your website is lean and fast-loading, hence significantly boosting their user experience and SEO rankings.
For more advanced tasks like resizing, cropping, or adding watermarks before compression, check out our guide to Convert & Optimize Images in PHP with Intervention Image to learn how to manipulate images directly on your server.