
If you work with databases and are on a Linux system, having the right tool can make all the difference. In this tutorial, we go through a step-by-step process to install DBeaver in Ubuntu and have a powerful, universal SQL client at your fingertips. Whether you’re a developer, database administrator, or data analyst, setting up DBeaver will make your work simpler and more productive.
We have crafted this tutorial to be easy to follow, even if you are new to the command line. By the end, you’ll have a fully functional DBeaver installation, ready to connect to nearly any database you work with.
What is DBeaver?
DBeaver is a free, universal, open-source database tool that supports an immense variety of databases, including MySQL, PostgreSQL, SQLite, Oracle, and many others. Consider it a master key for all your data locks. There is no longer a need to juggle several applications that manage different databases when you can use one intuitive interface for everything.
Here are some key benefits of using DBeaver:
- Universal Support: Connect to dozens of SQL, NoSQL, and cloud databases from one application.
- Powerful SQL Editor: Enjoy features like auto-completion, syntax highlighting, and script formatting to write cleaner code faster.
- Visual Data Management: Easily view, edit, and filter data in a spreadsheet-like grid without writing a single query.
- ER Diagrams: Visualize your database schema with Entity-Relationship diagrams automatically generated to comprehend the structure.
- Cross-Platform: Utilize this fantastic tool on Windows, macOS, and Linux.
Update Your System’s Package List
First, open your terminal. It’s always a good practice to update your package index before installing new software. This command fetches the latest list of available packages from the repositories.
sudo apt updateAdd the DBeaver GPG Key and DBeaver Repository
Next, you need to add the GPG key for the DBeaver repository. It will be used to verifies that the packages you are about to download are authentic and have not been tampered with.
sudo wget -O /usr/share/keyrings/dbeaver.gpg.key https://dbeaver.io/debs/dbeaver.gpg.key

echo "deb [signed-by=/usr/share/keyrings/dbeaver.gpg.key] https://dbeaver.io/debs/dbeaver-ce /" | sudo tee /etc/apt/sources.list.d/dbeaver.list
Here, you have added the official DBeaver repository to your system’s source list. It tells your package manager where to find the DBeaver software whenever you ask to install DBeaver in Ubuntu.
Install DBeaver on Your Ubuntu System
Once the repository added, you just need to update your package list one more time and then run the installation command. This downloads and installs DBeaver Community Edition (CE).
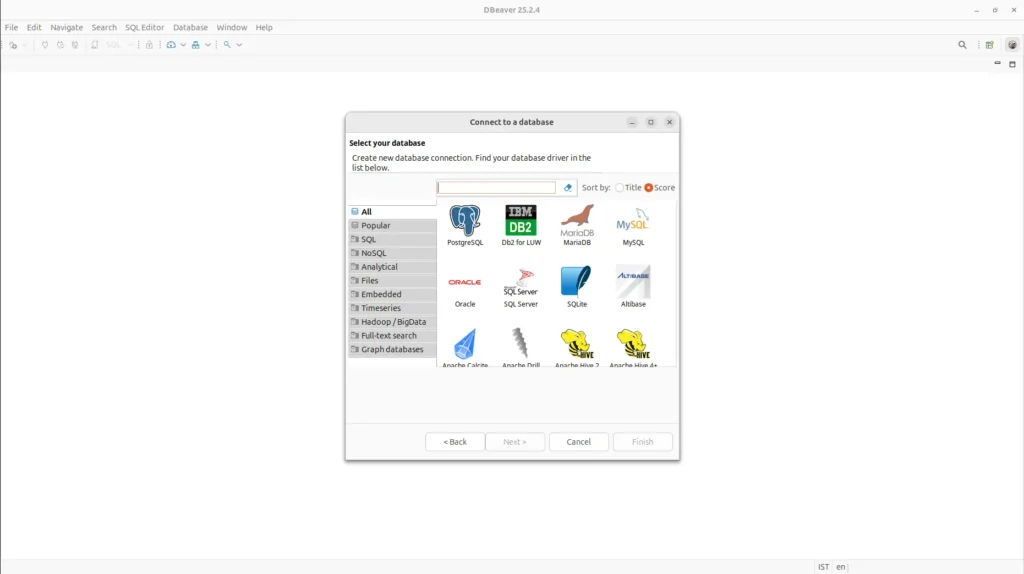
sudo apt update && sudo apt install dbeaver-ceIt will take some time to download setup file and install dbeaver. Once installed you can launch it from explorer or just by searching it. On first launch, DBeaver may ask if you want to create a sample database connection, which is a great way to explore its features.
Conclusion
You now have a powerful Ubuntu SQL client. With just a few simple steps, you have successfully installed DBeaver and are now ready to manage your databases with much more ease. You can now explore its extensive features, from writing complex queries to visualizing data schemas from a single, unified application.