
If you’re ready to build your first web app with Python Flask, learning how to install Flask in Ubuntu is a great place to start. Flask is a lightweight yet powerful web framework that makes it easy to create APIs and web applications. In this guide, you’ll walk through the complete process to set up Flask on Ubuntu, from updating your system to running your first Flask app. By the end, you’ll have a working Flask environment ready for development.
What is Flask?
Flask is a micro web framework for Python that gives developers the flexibility to build applications quickly without heavy dependencies. It’s perfect for projects that need a simple structure yet leave room for scalability. Many developers use Flask to create dashboards, APIs, and lightweight web services because it’s fast, minimal, and easy to learn.
Update the Package List
Before installing anything, you need to make sure your system is up to date. It helps avoid errors and ensures that you’re using the latest packages available in Ubuntu.
Run the following command in your terminal:
sudo apt update
sudo apt upgrade
This step ensures your system’s repositories and dependencies are refreshed, making your installation process smoother. It will take some time depending on pending updates.
Install PIP (Package Installer for Python)
PIP is the package installer for Python, and you’ll need it to install Flask. Run the following commands to install PIP:
sudo apt install python3-pipOnce installed, verify PIP by checking its version:
pip3 --versionPIP is something like NPM for node or composer for PHP. It helps to download libraries or packages for python.
Create a Virtual Environment (optional)
Creating a virtual environment is a good practice when working with Python projects but it’s not mandatory. It keeps project dependencies isolated and prevents conflicts between packages from different projects.
Run these commands:
sudo apt install python3-venv
python3 -m venv flaskenv
source flaskenv/bin/activate
You’ll see some changes into terminal once it creates and moves to that environment. Once environment is ready, your process related to application stays separate from main system.
Flask Installation and Verification
Next step is to install Flask itself. Enter below command into your terminal to install flask:
pip install Flask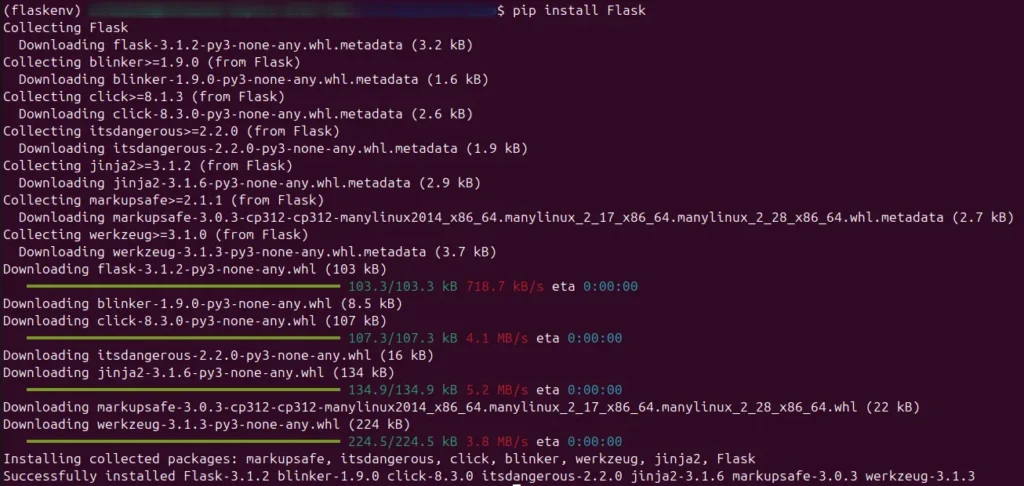
After installation, it will show output similar to above image still you need to verify it using below command:
python -m flask --versionOutput:
Python 3.12.3
Flask 3.1.2
Werkzeug 3.1.3
It will shows the installed version, confirming that your Flask installation on Ubuntu is successful.
Create a Flask Application
Now, let’s create a simple Flask application to make sure everything works correctly. Create a new file named app.py and add the following code:
from flask import Flask

app = Flask(__name__)

@app.route('/')
def home():
    return 'Hello, Flask on Ubuntu!'

if __name__ == '__main__':
    app.run(host='0.0.0.0', port=5000)
Save the file and run the Flask application using this command:
python app.pyOnce the server starts, open your browser and go to http://localhost:5000. You should see the message “Hello, Flask on Ubuntu!” displayed, which means your setup is complete.
Conclusion
Installing Flask in Ubuntu is easy and effective, even for new users. You updated your packages, installed PIP, set up a virtual environment, and finished installing Flask. With your first Flask application running, you’re now ready to discover more advanced capabilities and begin constructing dynamic web applications.
Whether it’s for a personal project or an industrial API, learning how to install Flask in Ubuntu is the beginning of creating large Python-based web solutions. Want to automate tasks on python application? Check out our detailed guide on Install Crontab in Ubuntu to easily schedule and manage background jobs.