
Want to set up MySQL in Ubuntu for your next project? This Ubuntu MySQL tutorial will walk you through a clean and secure setup and show you how to create a user and database with confidence. This tutorial on install MySQL in Ubuntu Server will keep the steps simple and fast for those who want a reliable data layer for WordPress, Magento, Laravel, or a custom application.
What is MySQL?
MySQL is an open-source relational database that stores data in structured tables. It powers millions of websites and apps, from blogs to online stores. You use SQL to query, insert, and manage data. Because MySQL is stable, fast, and supported by a huge community, it’s a smart default for most Linux servers.
Installing MySQL on Ubuntu server
You can complete this MySQL Ubuntu server setup with few command and in no time. Before moving forward let’s update our package repository for Ubuntu and install MySQL.
sudo apt update

sudo apt install mysql-server
Start and enable the service
Once you install MySQL, enabling the service on Ubuntu ensures it starts automatically at boot, allowing your apps to always find the database online. The status output confirms it’s active and listening locally.
sudo systemctl enable --now mysql
sudo systemctl status mysql
Secure your MySQL server
The secure installation wizard hardens your MySQL Ubuntu server setup in minutes. Choose a strong root password, remove anonymous users, and disable remote root logins. These steps close common entry points before you go live.
sudo mysql_secure_installationVerify the installation
To verify installation, you need to enter version command to terminal and it will show installed version to you as output.
mysql --version

mysql  Ver 8.0.43-0ubuntu0.24.04.2 for Linux on x86_64 ((Ubuntu))
The version output verifies the client and server installed correctly. With Install MySQL in Ubuntu complete, you can create a database and a least-privilege user for your app.
Create a MySQL user and database
To perform any privileged MySQL operation like creating user or database, you need to use command line tool. Open terminal and enter below command to start MySQL command line utitlity.
sudo mysqlLet’s take an example to create database using command line. Once you enter into MySQL shell enter below command.
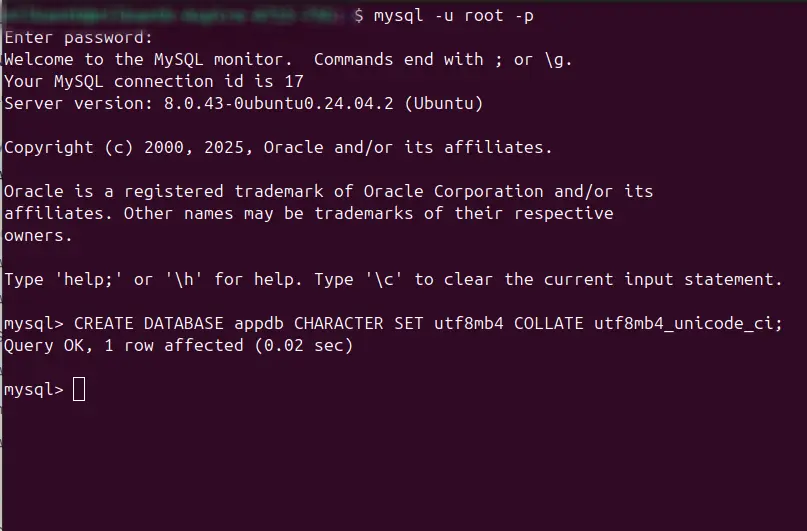
CREATE DATABASE appdb CHARACTER SET utf8mb4 COLLATE utf8mb4_unicode_ci;It will create new database and show output something like below.
Now let’s create a dedicated user and grant access called “appuser” with our custom password.
CREATE USER 'appuser'@'localhost' IDENTIFIED BY 'YourStrongPassword123!';
GRANT ALL PRIVILEGES ON appdb.* TO 'appuser'@'localhost';
FLUSH PRIVILEGES;
EXIT;
You can change your password in above command as per your requirement. Once user is created, you can access data using that user credentials like showing into below command:
mysql -u appuser -pThe command will prompt for password input if it’s configured and then allow you to perform MySQL command for managing your DBMS.
Conclusion
You installed and configured MySQL on Ubuntu, secured it, and created a database and user. This guide on Ubuntu server MySQL installation gives you a solid base for blogs, shops, and custom applications. If you need remote access or backups next, this setup can be extended without any rework.