
Are you seeking an easy way to manage MySQL or MariaDB databases? The command line is powerful, but it is not always the right tool to reach for when working on everyday database tasks. This tutorial we will install phpMyAdmin on Ubuntu, providing you with a feature-rich, web-based GUI through which you can perform anything from table creation to complex query running.
Why Do You Need phpMyAdmin?
Using a database from a terminal can feel like navigating a maze in the dark, but phpMyAdmin turns on the lights. It provides a clear and intuitive interface that is an essential tool for both developers and system administrators.
You can visually manage your entire database, allowing you to see its structure, browse tables, and edit data without writing a single SQL command. Complex tasks like creating new databases, tables, or users are simplified into user-friendly forms and buttons. Furthermore, it makes data operations incredibly efficient, letting you import data from a CSV file or export a full backup with just a few clicks.
Pre-requirements
Before you begin, you need a functional LAMP (Linux, Apache, MySQL, PHP) or LEMP (Linux, Nginx, MySQL, PHP) stack on your Ubuntu server. If you haven’t set this up yet, you will need to install PHP and the other necessary components first. You can use these links to install PHP and MySQL.
Ubuntu Server phpMyAdmin Installation Process
We will proceed with the installation using the Apache web server, as it’s a common choice for beginners. We are assuming you have already installed PHP and MySQL.
First, always ensure your server’s package list is up to date. Open your terminal and run the following commands:
sudo apt update
sudo apt upgrade
Now, you can install the main package directly from Ubuntu’s official repositories. This command also includes a few PHP extensions that phpMyAdmin needs to function correctly. It will add these extensions if not installed.
sudo apt install phpmyadmin php-mbstring php-zip php-gd php-json php-curlDuring this installation, a configuration screen will pop up. ou will be prompted to choose the web server to configure. Press the Spacebar to select apache2. Next it will ask for Database selection and password to access PhpMyAdmin.
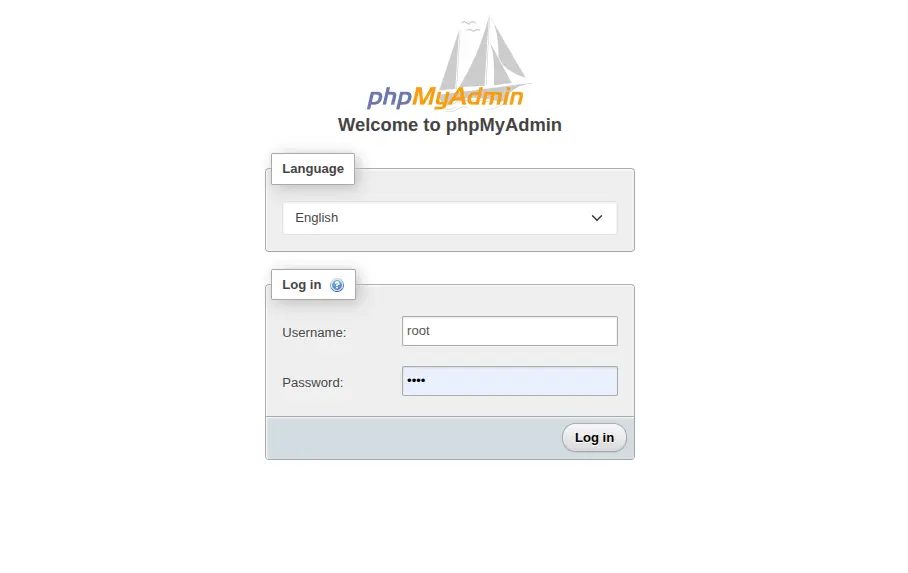
You can also create dedicated user for PhpMyadmin by following detailed guide of MySQL installation. Once installation is complete, you can access admin panel at http://localhost/phpmyadmin/. It will show something like below image.
Conclusion
You have now completed the installation of phpMyAdmin on an Ubuntu server. You will now have a strong yet easy-to-use tool at your hands, wherein you can manage your databases with much efficiency. No more fumbling with the command-line syntax for simple tasks. Now, concentrate more on developing your application and less on the complexities that surround database administration.