
Do you find yourself tired of using basic fields in your Laravel projects? When you need to collect anything more complicated than plain text, such as blog posts, product descriptions, or formatted comments, you need to implement a rich text editor in your project. Integrating a simple but powerful editor, like the Trix Editor, into your Laravel application can radically streamline your user’s experience.
What is Trix Editor?
Trix is an open source rich text editor created by a small team at Basecamp. Many WYSIWYG editors are too heavy and complex, but Trix takes a different approach. Trix focuses on simplicity, consistency, and a “what you see is what you mean” approach, producing clean, semantic HTML without the clutter of messy inline styles or extra markup found in many other editors. It’s lightweight and requires very few configuration settings making it a highly reliable option for developers to use as a rich text editor in Laravel without a steep learning curve.
Creating the Necessary Routes
First, we need to define the web routes that our application will use. We’ll need three distinct routes. One is for showing form, another for handling form submission and third one is for handling image upload functionality.
Open your routes/web.php file and add the following code:
<?php

use Illuminate\Support\Facades\Route;
use App\Http\Controllers\PostController;

Route::get('posts/create', [PostController::class, 'create'])->name('posts.create');
Route::post('posts', [PostController::class, 'store'])->name('posts.store');
Route::post('trix/upload', [PostController::class, 'trixUpload'])->name('trix.upload');
Building the Controller Logic
Now that our routes are ready, let’s create the controller to manage the requests. Run the following Artisan command in your terminal to generate a new controller:
php artisan make:controller PostControllerThis command creates a new file at app/Http/Controllers/PostController.php. Open this file and add the logic for the create, store, and trixUpload methods.
<?php

namespace App\Http\Controllers;

use Illuminate\Http\Request;
use Illuminate\Support\Facades\Storage;

class PostController extends Controller
{
    public function create()
    {
        return view('posts.create');
    }

    public function store(Request $request)
    {
        $request->validate([
            'content' => 'required',
        ]);

        // For demonstration, we'll dump the content.
        // In a real app, you would save it to the database.
        // Post::create(['content' => $request->input('content')]);

        dd($request->input('content'));
    }

    public function trixUpload(Request $request)
    {
        $request->validate([
            'file' => ['required', 'file', 'image'],
        ]);

        $path = $request->file('file')->store('public/trix-attachments');

        return response()->json([
            'url' => Storage::url($path)
        ]);
    }
}
Here, the create method displays a simple form using a Blade file. Currently, the store method only shows the submitted content instead of saving it to the database. You can modify this method as needed to match your specific requirements.
The trixUpload method is used to upload file to the server return URL as reponse.
Generating the View with the Trix Editor
With views, everthing comes togather like routes and controller. Let’s create and view file called post/create.blade.php and add code to show Trix Editor for inputs.
<!DOCTYPE html>
<html lang="en">
<head>
    <meta charset="UTF-8">
    <meta name="viewport" content="width=device-width, initial-scale=1.0">
    <title>Create Post</title>

    <link href="https://cdn.jsdelivr.net/npm/bootstrap@5.3.3/dist/css/bootstrap.min.css" rel="stylesheet" integrity="sha384-QWTKZyjpPEjISv5WaRU9OFeRpok6YctnYmDr5pNlyT2bRjXh0JMhjY6hW+ALEwIH" crossorigin="anonymous">
    <link rel="stylesheet" type="text/css" href="https://unpkg.com/trix@2.0.8/dist/trix.css">
    <script type="text/javascript" src="https://unpkg.com/trix@2.0.8/dist/trix.umd.min.js"></script>
    <meta name="csrf-token" content="{{ csrf_token() }}">

    <style>
        trix-toolbar [data-trix-button-group="file-tools"] {
            display: none;
        }

        trix-editor.form-control {
            height: auto; /* Allow Trix to control its height */
            min-height: 12rem; /* Provide a reasonable default height */
        }
    </style>
</head>
<body>

    <div class="container my-5">
        <div class="row justify-content-center">
            <div class="col-lg-8">
                <div class="card">
                    <div class="card-header">
                        <h1 class="h3 mb-0">Create a New Post</h1>
                    </div>
                    <div class="card-body">
                        <form method="POST" action="{{ route('posts.store') }}">
                            @csrf
                            <input id="post-content" type="hidden" name="content">

                            <div class="mb-3">
                                <label for="post-content" class="form-label">Content</label>
                                <trix-editor input="post-content" class="form-control"></trix-editor>
                            </div>

                            <div class="text-end">
                                <button type="submit" class="btn btn-primary px-4">Save Post</button>
                            </div>
                        </form>
                    </div>
                </div>
            </div>
        </div>
    </div>

    <script src="https://cdn.jsdelivr.net/npm/bootstrap@5.3.3/dist/js/bootstrap.bundle.min.js" integrity="sha384-YvpcrYf0tY3lHB60NNkmXc5s9fDVZLESaAA55NDzOxhy9GkcIdslK1eN7N6jIeHz" crossorigin="anonymous"></script>

    <script>
        document.addEventListener('trix-attachment-add', function (event) {
            if (event.attachment.file) {
                uploadFileAttachment(event.attachment);
            }
        });

        function uploadFileAttachment(attachment) {
            const data = new FormData();
            data.append("file", attachment.file);
            const csrfToken = document.querySelector('meta[name="csrf-token"]').getAttribute('content');

            fetch("{{ route('trix.upload') }}", {
                method: 'POST',
                headers: {
                    'X-CSRF-TOKEN': csrfToken
                },
                body: data
            })
            .then(response => response.json())
            .then(data => {
                attachment.setAttributes({
                    url: data.url,
                    href: data.url
                });
            })
            .catch(error => {
                console.error('Upload error:', error);
                attachment.remove();
            });
        }
    </script>
</body>
</html>
Here, we have used CDN for loading Trix Editor library files. You can download and add into your project locally or use NPM for it. The hidden field with id “x” will be used to store actual HTML content to the form and it will pass to server while saving. We have also added JavaScript logic to handle file upload.
Testing
Since, our configuration for Trix Code editor into Laravel 12 application is complete. We can move this to testing. For that, you need to start Laravel development server using below command:
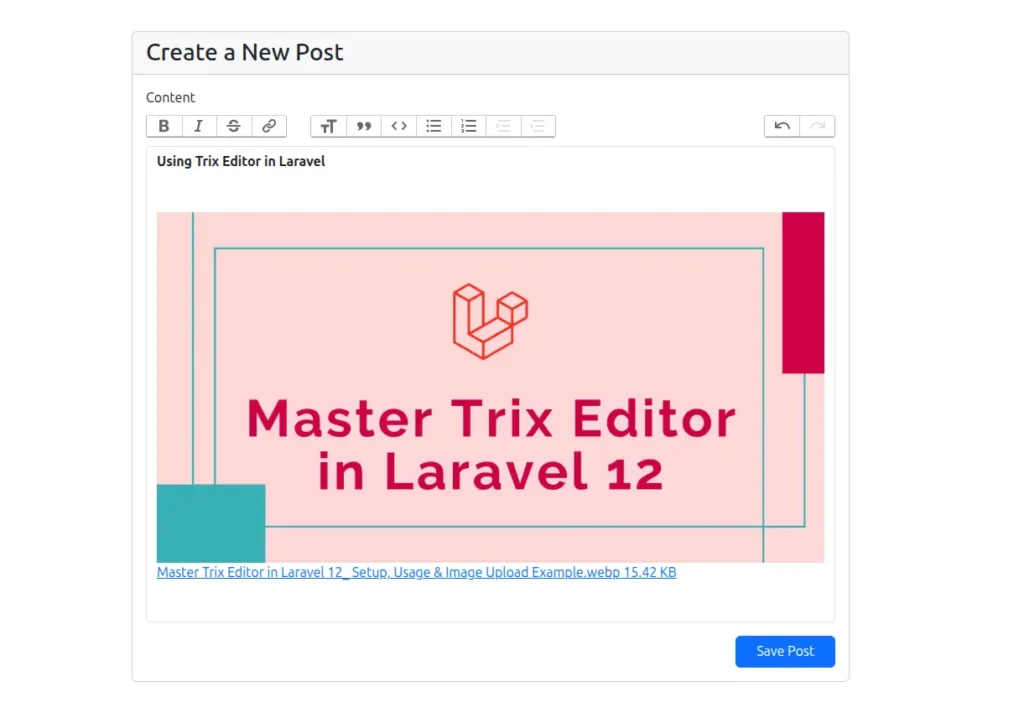
php artisan serveOpen your web browser and navigate to http://127.0.0.1:8000/posts/create. You should see a clean Trix editor. Type some text and use the toolbar to apply formatting like bold, italics, or bullet points. Now you can upload image as content into Trix Editor screen.
Conclusion
You have successfully learned how to integrate Trix Editor in Laravel 12. You now have a simple, elegant, and powerful rich text editor complete with a custom image upload handler. This setup provides a fantastic foundation for any feature that requires formatted user input, from a blog engine to a product management system. There is few other alternatives for Rich Text Editor in Laravel Like Quill or CkEditor, You can checkout this links for Laravel implementation.