
When building modern web applications, one of the most important things is to have a sleek, easy-to-use text editor. In this tutorial, you will learn how to set up a Quill Rich Text Editor in Laravel 12 to produce elegantly formatted content for blogs, admin panels, and content management systems. Quill is lightweight, flexible, and works seamlessly with Laravel, making it just ideal for those developers that want an elegant WYSIWYG experience sans complexity.
What is Quill Rich Text Editor?
Quill is a free, open-source WYSIWYG editor that allows for simplicity and extensibility. Users can write and format text with ease just as they are accustomed to working in simple word processors. The developers love it because it is very extendable; it offers support for custom themes, and integrates smoothly into frameworks like Laravel 12.
Integrate Quill Rich Text Editor in Laravel 12
Let’s take practical example to go through a Laravel 12 Quill js integration. We’ll set up a simple form that lets users submit formatted text and store it in the database. Let’s assume you have post model with title and content into your database already. You can use any other model as per your requirement for example, if you are storing reviews, testimonials or anything else with allowing user to format text with features.
Create Controller and Routes
Here, you will see how to get user input through Quill Text Editor into Laravel 12 application. So will take a form to take input and store it to database. To perform these operation, you will need two routes one is for showing form and another one is to store or process inputs from user.
Before moving to routes let’s create a controller which will handles these process. Open terminal and enter below command to create controller:
php artisan make:controller PostControllerNow, Open your routes/web.php file and add below routes into it.
use App\Http\Controllers\PostController;

Route::get('post/create', [PostController::class, 'create'])->name('post.create');
Route::post('post/store', [PostController::class, 'store'])->name('post.store');
Let’s update controller code to for these routes. Open App/Http/Controllers.php and modify as below:
<?php

namespace App\Http\Controllers;

use App\Models\Post;
use Illuminate\Http\Request;

class PostController extends Controller
{
    public function create()
    {
        return view('post.create');
    }

    public function store(Request $request)
    {
        $request->validate([
            'title' => 'required|string|max:255',
            'content' => 'required|string',
        ]);

        Post::create([
            'title' => $request->title,
            'content' => $request->content,
        ]);

        return redirect()->back()->with('success', 'Post created successfully.');
    }
}
Here, you have added two methods. The create method will show form to user and store method will handle form input and store it to the database.
Creating view File
Next step is to create view file for taking inputs for post using Quill rich text editor. Create resources/views/post/create.blade.php:
<!DOCTYPE html>
<html lang="en">
  <head>
    <meta charset="UTF-8" />
    <title>Laravel 12 Quill Editor Example</title>
    <link
      href="https://cdn.jsdelivr.net/npm/bootstrap@5.3.3/dist/css/bootstrap.min.css"
      rel="stylesheet"
    />
    <link
      href="https://cdn.quilljs.com/1.3.6/quill.snow.css"
      rel="stylesheet"
    />
    <style>
      body {
        background-color: #f8f9fa;
      }
      .container {
        max-width: 700px;
        margin-top: 10px;
        background: #fff;
        padding: 10px;
        border-radius: 10px;
        box-shadow: 0 0 10px rgba(0, 0, 0, 0.1);
      }
      #editor {
        height: 200px;
        background: #fff;
        border: 1px solid #ced4da;
        border-radius: 5px;
      }
    </style>
  </head>
  <body>
    <div class="container">
      @if(session('success'))
        <div class="alert alert-success">{{ session('success') }}</div>
      @endif

      <h2 class="mb-4 text-center">Create New Post</h2>

      <form action="{{ route('post.store') }}" method="POST">
        @csrf
        <div class="mb-3">
          <label class="form-label">Title</label>
          <input type="text" name="title" class="form-control" required />
        </div>

        <div class="mb-3">
          <label class="form-label">Content</label>
          <div id="editor"></div>
          <input type="hidden" name="content" id="content" />
        </div>

        <button type="submit" class="btn btn-primary w-100">Submit</button>
      </form>
    </div>

    <script src="https://cdn.jsdelivr.net/npm/bootstrap@5.3.3/dist/js/bootstrap.bundle.min.js"></script>
    <script src="https://cdn.quilljs.com/1.3.6/quill.js"></script>
    <script>
      const quill = new Quill("#editor", { theme: "snow" });
      const form = document.querySelector("form");
      form.onsubmit = () => {
        document.querySelector("#content").value = quill.root.innerHTML;
      };
    </script>
  </body>
</html>
Here, we have used CDNs for loading assets for Quill js. You can also download it from their website or use NPM too. Apart from CDN, we have created basic form with title and content. The JavaScript code will initialize quill editor with default configuration and set theme as snow. You can checkout it’s documentation and customize it as per your need.
Testing Functionality
Now let’s test our Quill js integration in Laravel application. To check, you need to start development server using below command:
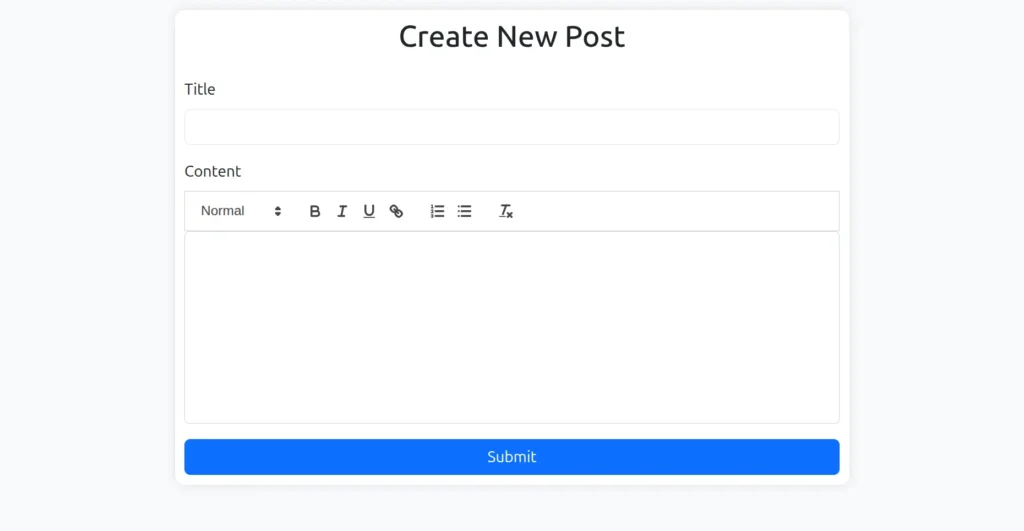
php artisan serveOnce you visit post/create URL, you will see output something like below image.
Conclusion
Integrating Quill Rich Text Editor in Laravel 12 gives a professional touch to your web application. It makes the creation of content easier and enables users to format text visually with structured data persisted on the backend. Whether you build a blog, admin dashboard, or CMS, this Laravel Quill js setup enhances usability and looks polished out of the box.