
Building a form in a Laravel application, which is user-friendly, is quite simpler when you implement Google Maps Address Autocomplete in Laravel. This is indeed a strong feature that makes it time-saving for users to enter a location with minimal errors. Instead of manually typing the whole address, they will just type a little and select from a list of suggested addresses that Google provides.
Address autocomplete has become a standard feature in modern web applications. Whether you are building an e-commerce store, a delivery service, or a booking platform, accurate address input is important. This guide will walk you through the complete process of integrating this feature into your Laravel project.
Why to Use Google Maps Autocomplete in Your Laravel App
Think of the last food order you made online or the ride you booked. You must have noticed how the address field jumped to suggest your location as you typed. Well, this is not just a fancy feature; it serves real purposes that come in handy for you and your users.
Google autocomplete ensures a significantly lower rate of typing errors. Users typing in addresses manually make mistakes, either in the name of the street, postal code, or the city. The auto-complete feature will ultimately have users select validated addresses from Google’s vast database. As a result, there are fewer failed deliveries, your locations can be tracked accurately, and customers remain happy.
Google Maps API Key Generation and Setup
Before you integrate google maps autocomplete Laravel functionality, you need a Google Places API key. Visit the Google Cloud Console and create a new project or select an existing one.
Navigate to the API Library and enable the Places API for your project. Go to the Credentials section and create a new API key. Google will generate a unique key for your project. Make sure to restrict this key to prevent unauthorized usage.
Store your API key in your Laravel environment file. Open your .env file and add a configuration for your Google API key.
GOOGLE_MAPS_API_KEY=your_actual_api_key_hereNext thing, you need to do is add new configuration inside config/services.php.
return [

   ...
   ...

    'google' => [
        'maps_api_key' => env('GOOGLE_MAPS_API_KEY'),
    ],

];
By moving configuration to config keeps your sensitive information secure and separate from your codebase. You can now access this API key anywhere in your Laravel application using the config helper.
Setting Up the Route and Controller
Create a route in your Laravel application to display the form with address autocomplete. Open your routes/web.php file and add a simple route that points to your controller method.
<?php

use App\Http\Controllers\AddressController;

Route::get('/address-form', [AddressController::class, 'showForm'])->name('address.form');
Next thing, you need to do is create a new controller using the Laravel artisan command. Run this command in your terminal to create the controller.
php artisan make:controller AddressControllerLet’s modify our newly created controller at app/Http/Controllers/AddressController.php and add the necessary methods.
<?php

namespace App\Http\Controllers;

use Illuminate\Http\Request;
use Illuminate\View\View;
use Illuminate\Http\RedirectResponse;

class AddressController extends Controller
{
    public function showForm(): View
    {
        $googleApiKey = config('services.google.maps_api_key');
        return view('address-form', compact('googleApiKey'));
    }
}
Creating Address Form View
Create a blade file for the google address autocomplete feature. It allows you to use autocomplete functionality in your Laravel 12 application. Create a new blade file named address-form.blade.php in your resources/views directory.
<!DOCTYPE html>
<html lang="en">
<head>
    <meta charset="UTF-8">
    <meta name="viewport" content="width=device-width, initial-scale=1.0">
    <title>Address Autocomplete Form</title>
    <style>
        body {
            font-family: Arial, sans-serif;
            max-width: 600px;
            margin: 50px auto;
            padding: 20px;
        }
        .form-group {
            margin-bottom: 20px;
        }
        label {
            display: block;
            margin-bottom: 5px;
            font-weight: bold;
        }
        input[type="text"] {
            width: 100%;
            padding: 10px;
            border: 1px solid #ddd;
            border-radius: 4px;
            font-size: 14px;
        }
        .submit-btn {
            background-color: #4CAF50;
            color: white;
            padding: 12px 30px;
            border: none;
            border-radius: 4px;
            cursor: pointer;
            font-size: 16px;
        }
        .submit-btn:hover {
            background-color: #45a049;
        }
        .success-message {
            background-color: #d4edda;
            color: #155724;
            padding: 12px;
            border-radius: 4px;
            margin-bottom: 20px;
        }
    </style>
</head>
<body>
    <h1>Enter Your Address</h1>

    @if(session('success'))
        <div class="success-message">
            {{ session('success') }}
        </div>
    @endif

    <form method="POST" action="">
        @csrf

        <div class="form-group">
            <label for="autocomplete">Street Address</label>
            <input type="text"
                   id="autocomplete"
                   name="street_address"
                   placeholder="Start typing your address..."
                   required>
            @error('street_address')
                <span style="color: red; font-size: 12px;">{{ $message }}</span>
            @enderror
        </div>

        <div class="form-group">
            <label for="city">City</label>
            <input type="text" id="city" name="city" readonly>
            @error('city')
                <span style="color: red; font-size: 12px;">{{ $message }}</span>
            @enderror
        </div>

        <div class="form-group">
            <label for="state">State</label>
            <input type="text" id="state" name="state" readonly>
            @error('state')
                <span style="color: red; font-size: 12px;">{{ $message }}</span>
            @enderror
        </div>

        <div class="form-group">
            <label for="postal_code">Postal Code</label>
            <input type="text" id="postal_code" name="postal_code" readonly>
            @error('postal_code')
                <span style="color: red; font-size: 12px;">{{ $message }}</span>
            @enderror
        </div>

        <div class="form-group">
            <label for="country">Country</label>
            <input type="text" id="country" name="country" readonly>
            @error('country')
                <span style="color: red; font-size: 12px;">{{ $message }}</span>
            @enderror
        </div>

        <button type="submit" class="submit-btn">Submit Address</button>
    </form>

    <script src="https://maps.googleapis.com/maps/api/js?key={{ $googleApiKey }}&libraries=places"></script>
    <script src="{{ asset('js/address-autocomplete.js') }}"></script>
</body>
</html>
Now, let’s add google maps autocomplete address Javascript code. Create a new file named address-autocomplete.js in your public/js directory.
let autocomplete;

function initAutocomplete() {
    autocomplete = new google.maps.places.Autocomplete(
        document.getElementById('autocomplete'),
        {
            types: ['address'],
            componentRestrictions: { }
        }
    );

    autocomplete.addListener('place_changed', fillInAddress);
}

function fillInAddress() {
    const place = autocomplete.getPlace();

    let streetNumber = '';
    let route = '';
    let city = '';
    let state = '';
    let postalCode = '';
    let country = '';

    for (const component of place.address_components) {
        const componentType = component.types[0];

        switch (componentType) {
            case 'street_number':
                streetNumber = component.long_name;
                break;
            case 'route':
                route = component.long_name;
                break;
            case 'locality':
                city = component.long_name;
                break;
            case 'administrative_area_level_1':
                state = component.short_name;
                break;
            case 'postal_code':
                postalCode = component.long_name;
                break;
            case 'country':
                country = component.long_name;
                break;
        }
    }

    document.getElementById('autocomplete').value = streetNumber + ' ' + route;
    document.getElementById('city').value = city;
    document.getElementById('state').value = state;
    document.getElementById('postal_code').value = postalCode;
    document.getElementById('country').value = country;
}

window.addEventListener('load', initAutocomplete);
This separate approach allow to reuse JavaScript for different form without repeating code. You can also create a partial blade file which use this code for usability. Here, we haven’t used this approach for better understanding.
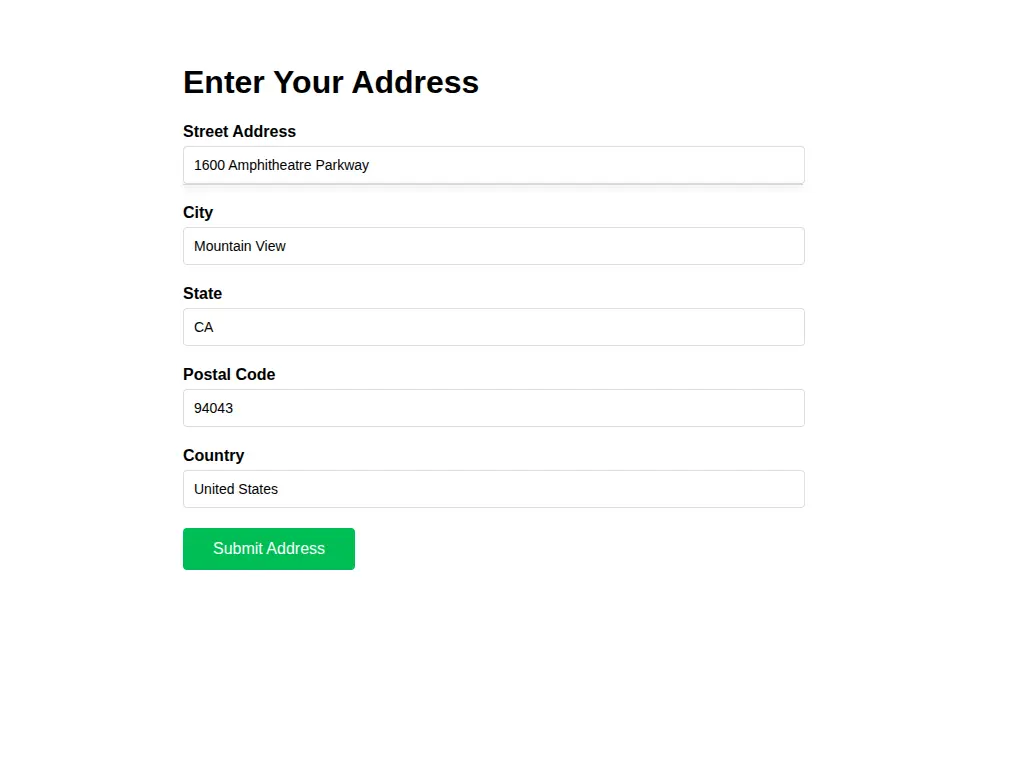
Once you run the application it will show output something like below:
Customizing the Autocomplete Behavior
In addition, You can customize the autocomplete to show only specific types of addresses. The types option in the autocomplete initialization controls what kind of places Google suggests or show.
The componentRestrictions option lets you limit suggestions to specific countries or region. For example, if you serve users in the US, you can restrict autocomplete to show only US addresses.
autocomplete = new google.maps.places.Autocomplete(
    document.getElementById('autocomplete'),
    {
        types: ['address'],
        componentRestrictions: { country: 'us' }
    }
);
Conclusion
Implementing Google Maps Address Autocomplete in Laravel enhances your application’s user experience significantly. The setup process is straightforward. Users complete forms faster with fewer errors, while you receive accurate address data from users. The Google Places API provides a robust solution that works seamlessly with Laravel.
Remember to monitor your API usage in the Google Cloud Console to stay within your quota limits and ensure smooth operation. To track form submissions, completion rates, and user behavior effectively, you should implement proper analytics. Learn how to Add Google Analytics 4 (GA4) Tracking to Laravel and gain valuable insights into your application’s performance and user engagement.